Video: How To Build A Gaming PC Using ROG Z97 Hardware
The video below is a complete guide how to building a gaming PC based on the Maximus VII Hero, Poseidon graphics card and popular Corsair kit.
[video]https://www.youtube.com/watch?v=zd0VFH_I_VA[/video]
Full video chapter and section breakdown -
- 1:30: Initial considerations in building a gaming PC
- 3:50: Build Considerations - How your motherboard and chassis / case affect your system build.
- 6:50:Build Components - CPU - Processor - Why we picked the 4790K
- 8:40: Build Components - MB - Motherboard - Why we picked the ASUS ROG MAXIMUS VII HERO
- 10:46:Build Components - Chassis / case - Why we picked the Corsair Graphite 760T
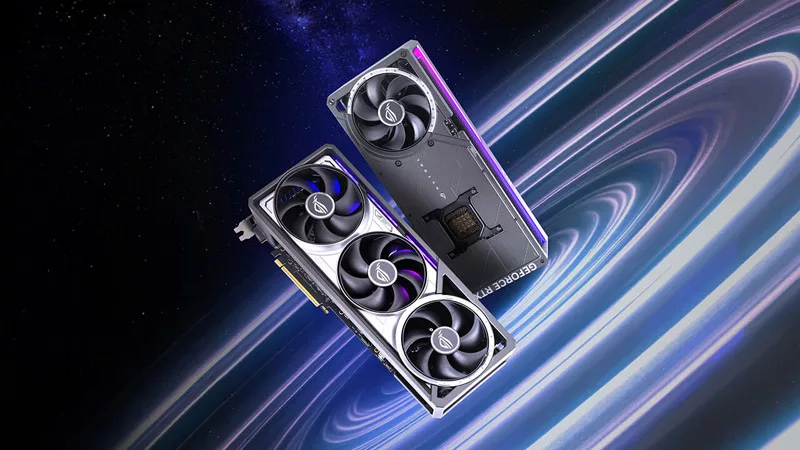
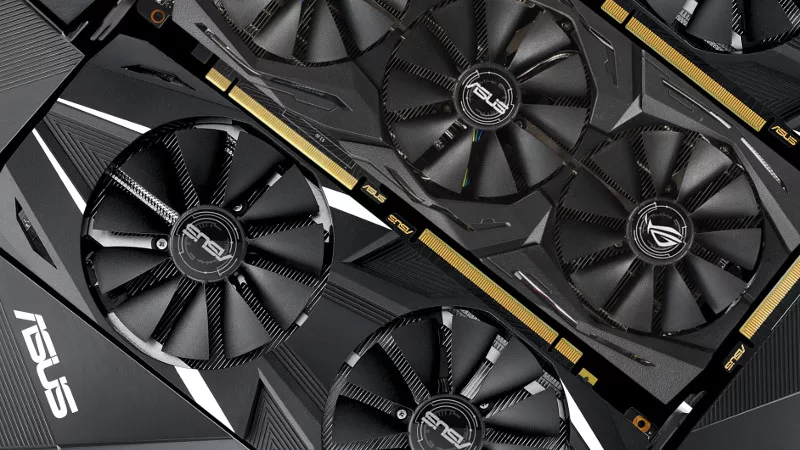
- 15:33: Build Components - GPU - Graphics Card - Why we picked the ASUS ROG STRIKER GTX 760
- 17:02: Build Components - Cooling Solution - Heatsink & Fan Assembly - Why we picked the Corsair H100i ( Closed loop water cooling solution, Self contained water cooling )
- 19:45: Build Components - Additional System Fans - Why we picked Corsair AF120 fans
- 22:20: Build Components - System Accessories - Front Bay Accessories - Fan Controller - Why we picked the ASUS ROG FRONT BASE
- 24:45: Build Components - RAM - Memory - Why we picked Corsair Vengeance Pro
- 26:37: Build Components - HD - Hard Drive - Why we picked Western Digital Black 2TB
- 28:15: Build Components - SSD - Solid State Drive - Why we picked Corsair Neutron GTX 240GB
- 30:35: Build Components - ODD - Optical Drive - Why we picked ASUS BC-12B1ST
- 33:23: Build Components - PSU - Power Supply - Why we picked Corsair AX860i
- 36:20: Build Components - M.2 PCIe SSD - Solid State Drive - Why we picked Plextor M6e
- 37:50: Build Accessories and Tools - Neotech Anti Static Work Mat, Bahco Screwdriver, Velcro Cable Ties / Wraps
- 40:50: Step 1 - PC Build Considerations - Overall component layout, cable routing considerations and considerations for expansion and airflow
- 44:10: Step 2 - Using a build a PC checklist
- 45:03: Step 3 - How to install the CPU
- 49:35: Step 4 - Consideration of whether to use aftermarket TIM ( Thermal Compound / Thermal Interface Material )
- 51:43: Step 5 - Considerations for mounting hardware and installation of closed loop water cooling
- 55:55: Step 6 - Installation of mounting hardware for closed loop water cooling ( H100i ) on motherboard
- 59:45: Step 7 - Airflow considerations for the closed loop water cooling solution ( intake or exhaust )
- 1:01:30: Step 8 - Installation of (AF120 ) fans onto closed loop water cooling solution ( H100i )
- 1:05:30: Step 10 - Installation of closed loop water cooling solution ( H100i ) into chassis
- 1:10:00: Step 11 - Installation of the I/O shield
- 1:10:36: Step 12 - Considerations when installing RAM / memory ( Corsair Vengeance )
- 1:11:50: Step 13 - Installation of RAM / memory onto the motherboard
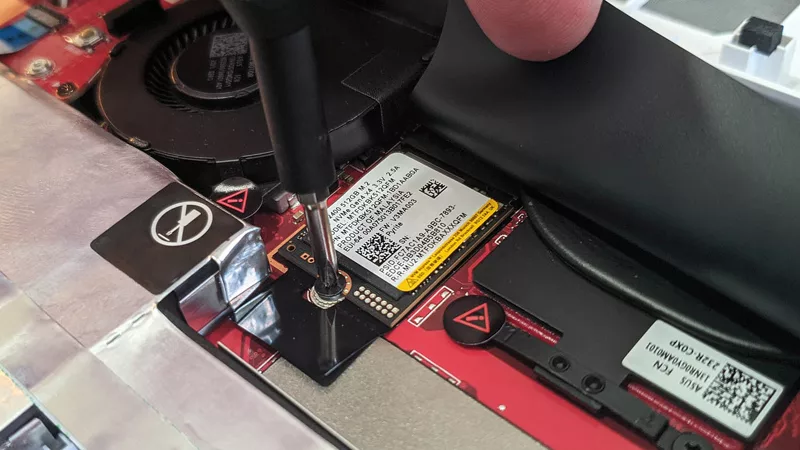
- 1:12:50: Step 14 ( optional ) Installation of M.2 based SSD onto the motherboard
- 1:14:00: Step 15 - Considerations when installing the motherboard
- 1:15:27: Step 16 - Installation of MB / Motherboard ( MAXIMUS VII HERO ) into the chassis / case ( Corsair Graphite 760T )
- 1:18:00: Step 17 - Installation of close loop water cooling cold plate to CPU socket on the motherboard
- 1:20:19: Step 18 -Considerations when installing a secondary chassis / case fan. Installation of secondary chassis fan ( bottom of the chassis )
- 1:22:45: Step 19 - Considerations in cable layout and routing for modular PSU cables
- 1:25:25: Step 20 - Considerations when installing a secondary chassis / case fan. Installation of secondary chassis fan ( back of the chassis )
- 1:27:50: Step 21 - Considerations when installing a PSU / power supply - Along with detailing on modular PSU cable connectivity. Connection of primary modular PSU cables and Corsair Link cable
- 1:33:30: Step 22 - Installation of PSU / power supply ( AC860i ) into chassis / case ( Corsair Graphite 760T )
- 1:34:30 : Step 23 - Continuation of cable routing considerations and layout
- 1:36:55: Step 24 - Initial connections of ROG FRONT BASE cables
- 1:38:30: Step 25 - Considerations when installing ROG FRONT BASE and optical drive into the chassis. Planning the best layout and routing path for data and power cables
- 1:39:45: Step 26 - Removal of SSD trays from the chassis and removal of chassis front panel. Installation of ROG FRONT BASE and optical drive
- 1:43:55: Step 27 - Connection of SATA power cable to PSU. Connection of ROG FRONG BASE cables to the motherboard
- 1:46:10: Step 28 - Secondary cable routing option for power and data and control cable for ROG FRONT BASE and optical drive and installation of corresponding cables to the motherboard
- 1:51:03: Step 29 - Connection of PSU power cables for motherboard power and CPU power as well as cables from the ROG FRONT BASE including SATA power cable being connected to the PSU
- 1:53:15: Step 30 - Installation of mechanical HD / Hard drive onto hard drive tray along with Installation of HD / hard drive tray into HD / hard drive cage
- 1:54:40: Step 31 - Installation of SSD into SSD tray
- 1:55:30: Step 32 - Installation of SSD trays back into the chassis
- 1:57:25: Step 33 - Connection of data ( SATA ) cables to the SSD and HD along with power SATA cable to the SSD and HD. Cable routing and connection of SATA and PSU SATA power cables to the PSU
- 2:03:25: Step 34 - Considerations when installing the graphics card
- 2:04:15: Step 35 - Installation of the graphics card onto the motherboard
- 2:04:45: Step 36 - Connection of PSU PCIe power cable to PSU along with routing of PCIe cable
- 2:05:40: Step 37- Connection of PCie power cable to the graphics card
- 2:07:10: Step 38 - Verification of installed components and evaluation of remaining items to be connected as well as evaluation on how to complete cable routing
- 2:08:12: Step 39 - Completion of outstanding cable routing and cable connectivity including connection of all fans
- 2:11:34: Step 40 - Final cable routing and cable management and connection of power to closed loop water cooling, front USB 3.0 and more. As well as installation of side back panel
- 2:21:17: Step 41 - Final connection of remaining cables including front chassis leads, front USB 3.0, front USB 2.0
- 2:23:24: Completion of build and test POST ( power on self test ), verification that system powers on and outputs display image to a monitor
Author
Popular Posts

How to adjust your laptop's P-Cores and E-Cores for better performance and battery life
Introducing the ROG Astral GeForce RTX 5090 and 5080: a new frontier of gaming graphics

How to Cleanly Uninstall and Reinstall Armoury Crate
How to configure your PC's RGB lighting with Aura Sync
How to upgrade the SSD and reinstall Windows on your ROG Ally or Ally X
LATEST ARTICLES
Here come the ROG and ASUS GeForce RTX 2070 graphics cards
Our NVIDIA GeForce RTX 2070 cards pair real-time ray tracing and artificial intelligence with cutting edge gaming and VR performance.

Gallery: BlizzCon Celebrates 10th Anniversary with ASUS and ROG
Since BlizzCon is also celebrating its 10-year anniversary, why not celebrate together?

ASUS ROG to Join LAN ETS in Canada
The biggest LAN party in Canada is here! HWBOT World Tour will also be there, don't miss out!

ASUS Straight Edge Podcast: Episode 3 - CPU Q&A with Intel
Intel PR manager Dan Snyder, and strategic marketing lead for enthusiasts, Aaron Mcgavock have 40 years of experience at Intel between them, Dan and Aaron have lots of insights related to tech and media to share. We present our questions and yours, to dig deep and get the nitty gritty details. Don't miss this!
AnandTech Looks Back at 10 Years of ROG
AnandTech has had a direct line of communication with ROG since the beginning. Let's take a look back at how ROG and AnandTech have evolved and what lies ahead. Don't miss the Q&A as AnandTech readers had the opportunity to have their say!