How to take screenshots and record game footage on the ROG Ally
Sharing unbelievable moments is one of the most fun parts of playing games, whether you finally got your first Victory Royale in Fortnite or found a way to land a motorcycle on the top of a flying plane in Grand Theft Auto V. Thankfully, we made it super easy to take screenshots and video recordings on the ROG Ally.
This is part of our ultimate guide to the ROG Ally series of articles.
How to take a screenshot on the ROG Ally
There are two easy ways to take a screenshot on the ROG Ally:
- Hold down the M1 or M2 buttons on the back of the device and press A.
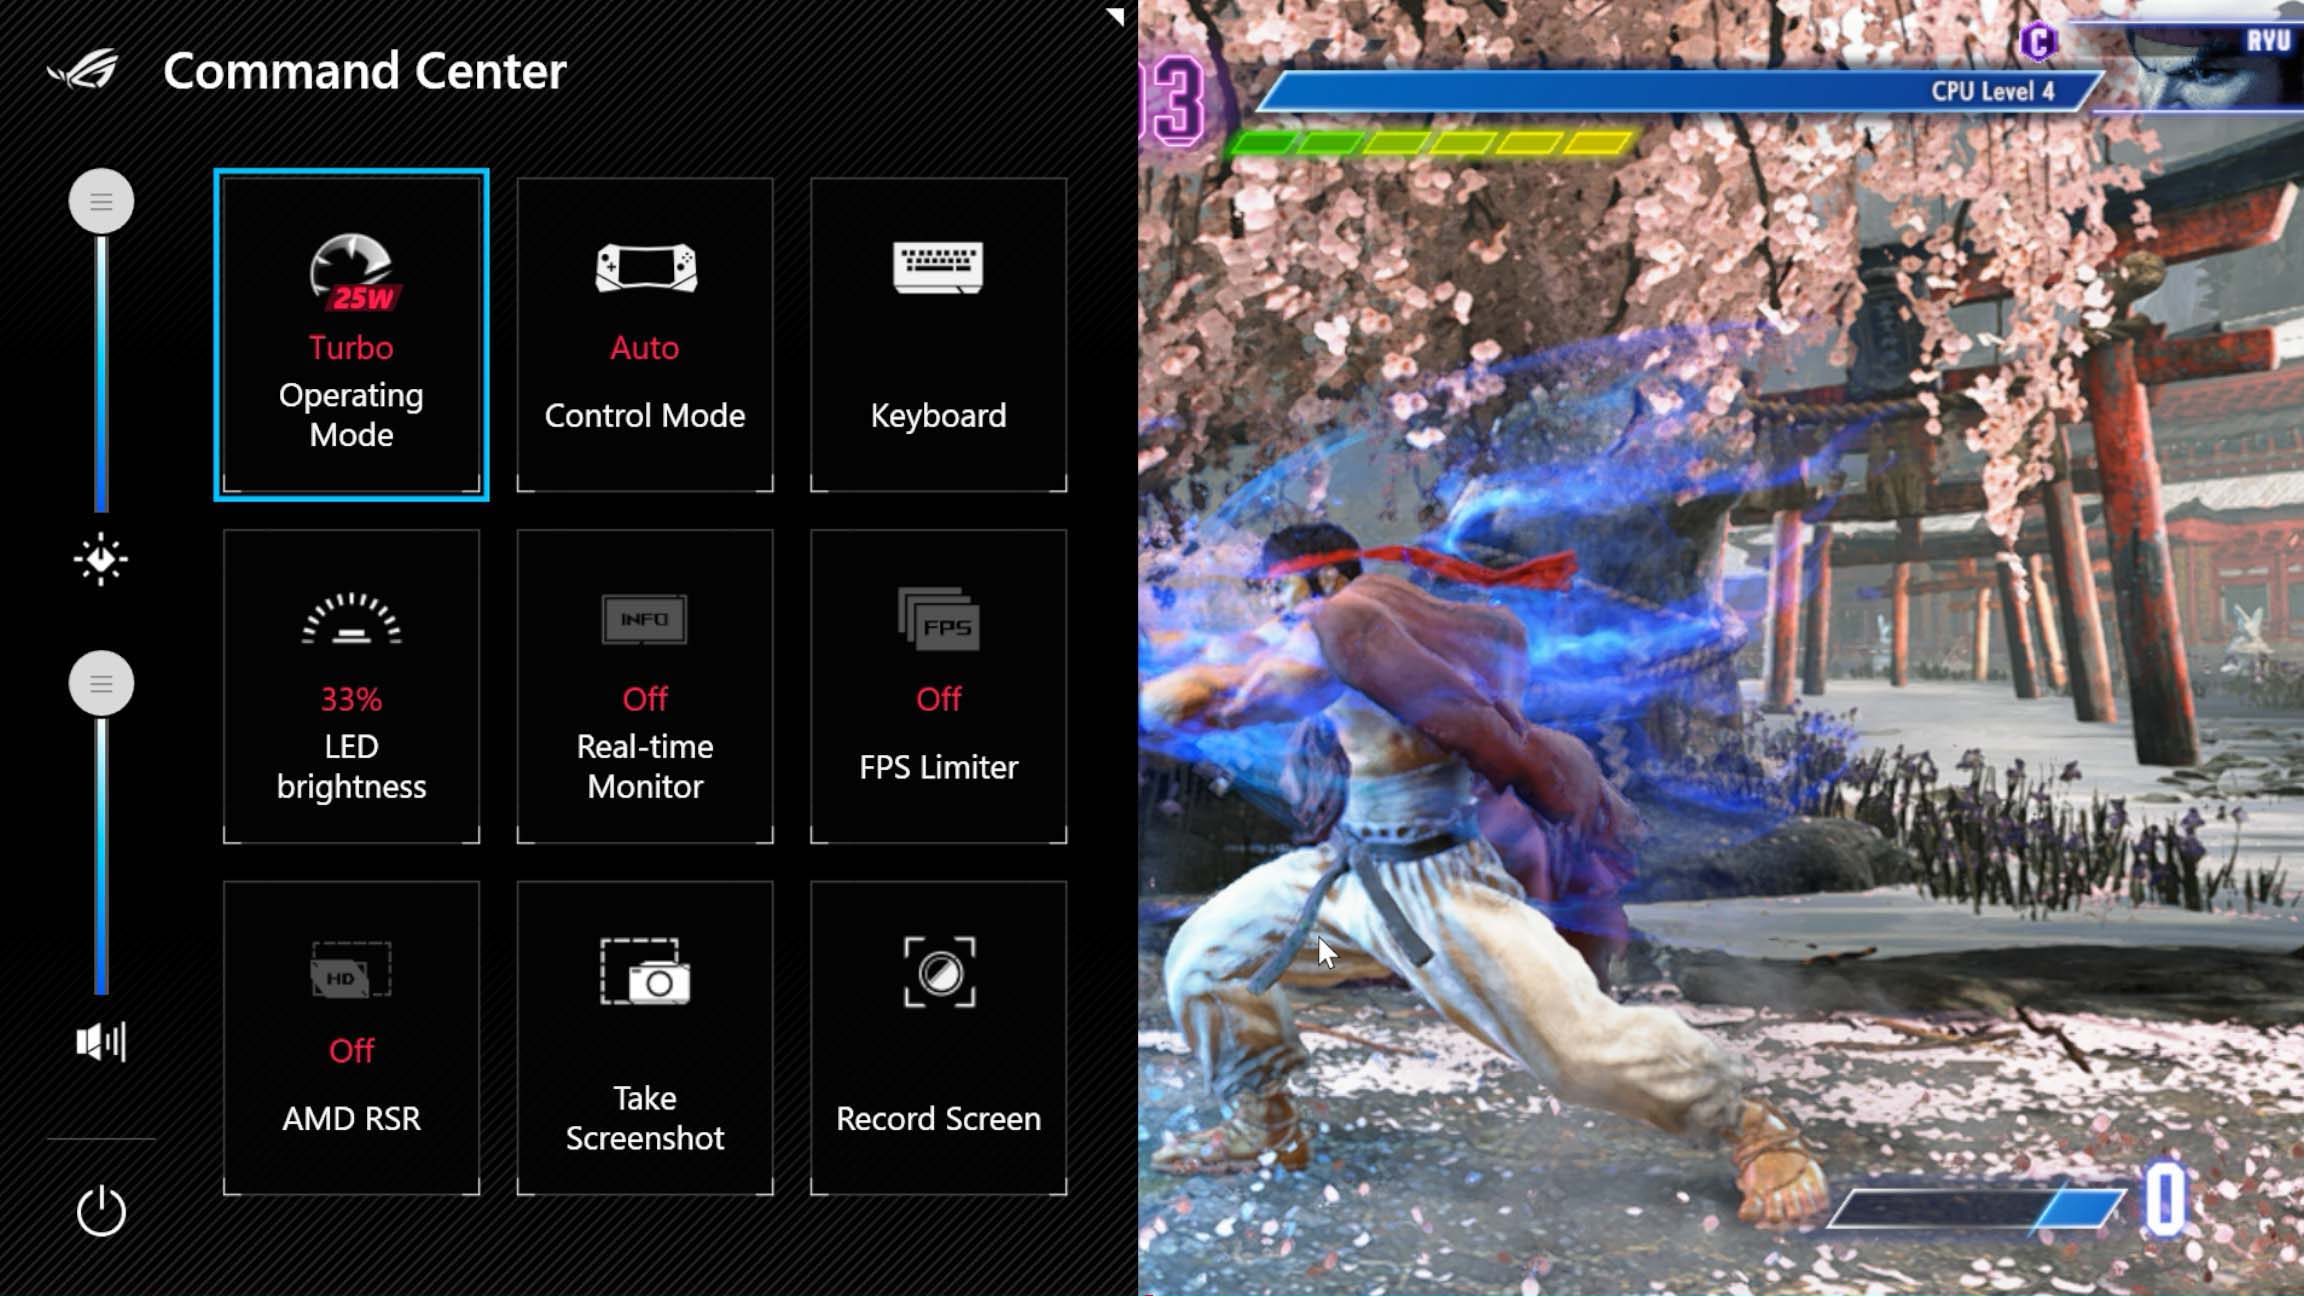
- Press the Command Center button to open the Command Center, and tap the “Take Screenshot” button.
Obviously, if you’ve remapped any buttons or disabled the macro functionality, refer to your own button mapping for the Take Screenshot shortcut. You can see all the current button mappings by pressing and holding down the Armoury Crate button.
The same goes for the Command Center. If the Take Screenshot button does not appear in Command Center, you can add it in Armoury Crate by going to Settings > Edit Command Center.
This uses the built-in screenshot capabilities of Xbox Game Bar, so make sure Xbox Game Bar is installed and enabled to make use of this functionality.
How to record a gameplay video on the ROG Ally
Taking a screen recording is easy on the Ally, and you can do it in one of two ways:
- Hold down the M1 or M2 buttons on the back of the device and press Y.
- Press the Command Center button to open the Command Center, and tap the “Record Screen” button.
If you’ve changed your button mappings or disabled the secondary functions of the M1 and M2 buttons, refer to your custom mapping for the Record Screen shortcut. You can see all the current button mappings by pressing and holding down the Armoury Crate button.
As for the Command Center, if the Record Screen button does not appear, you can add it in Armoury Crate by going to Settings > Edit Command Center.
This uses the built-in video recording capabilities of Xbox Game Bar, so make sure Xbox Game Bar is installed and enabled to make use of this functionality.
How to share your screenshots and recordings
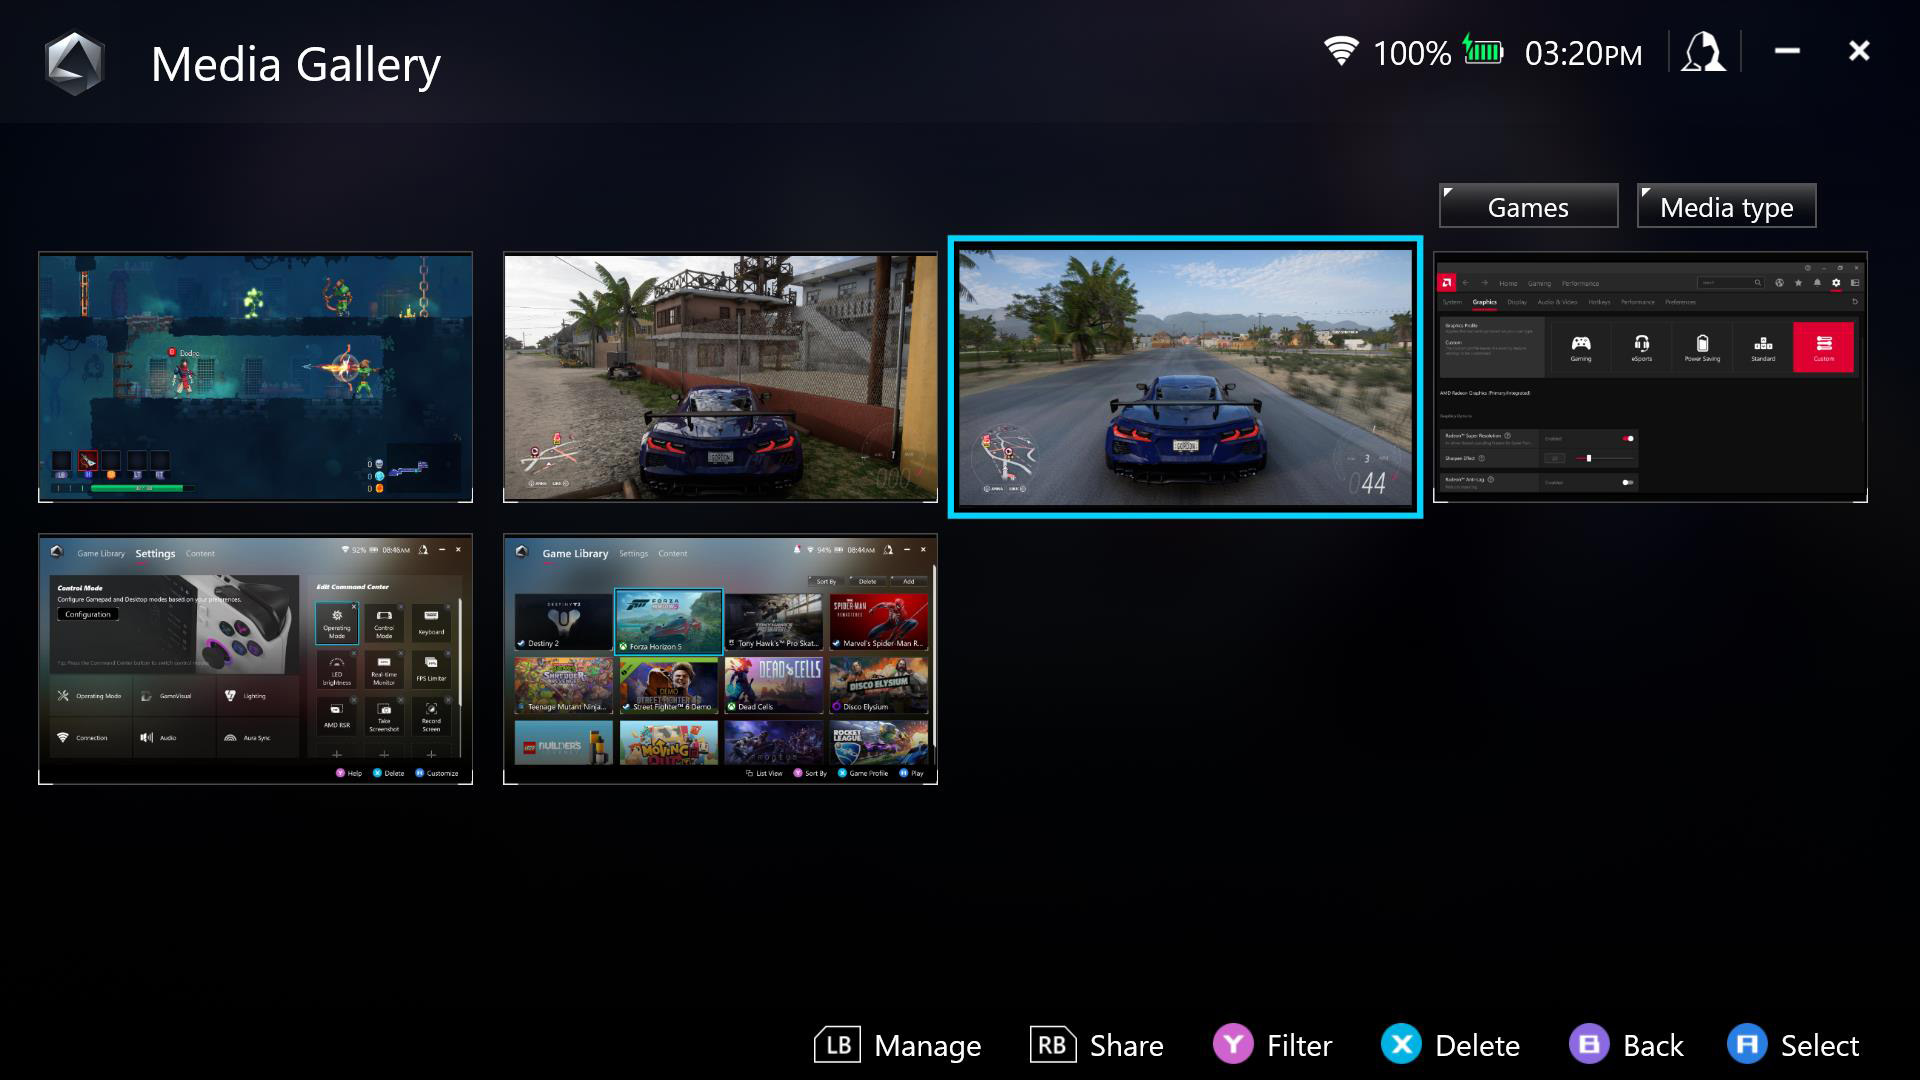
Once you’ve nabbed that awesome shot, you can share it with your friends by opening Armoury Crate and heading to Content > Media Gallery, highlighting the screenshot or video clip, and pressing the right button (RB) to share it on Twitter, Instagram, or YouTube.
Alternatively, you can seek out the image and video files in Windows’ File Explorer. The screenshots and videos are stored in C:\[yourusername]\Videos\Capture, where [yourusername] is the name of your user folder in Windows. From here you can copy, edit, or share the files however you choose.
For more tips and tricks, check out our full guide to the ROG Ally. And if you haven’t picked up your ROG Ally yet, you can grab it from Best Buy at the links below.
| Model | Type | Where to Buy (US) | Where to Buy (CA) |
|---|---|---|---|
| ROG Ally (Ryzen Z1 Extreme) | Handheld | Best Buy | ASUS Best Buy |
| ROG Ally (Ryzen Z1) | Handheld | Best Buy | |
| XG Mobile (Radeon RX 6850M XT) | eGPU | ASUS Best Buy |
|
| XG Mobile (GeForce RTX 4090) | eGPU | ASUS EXcaliberPC |
ASUS Memory Express |
| ROG 65W Gaming Charger Dock | USB Hub | Best Buy | ASUS |
| Official ROG Ally Travel Case | Case | Best Buy | ASUS Best Buy |
Autor
Popular Post
All the new gaming gear revealed from the ROG Lab at CES 2025
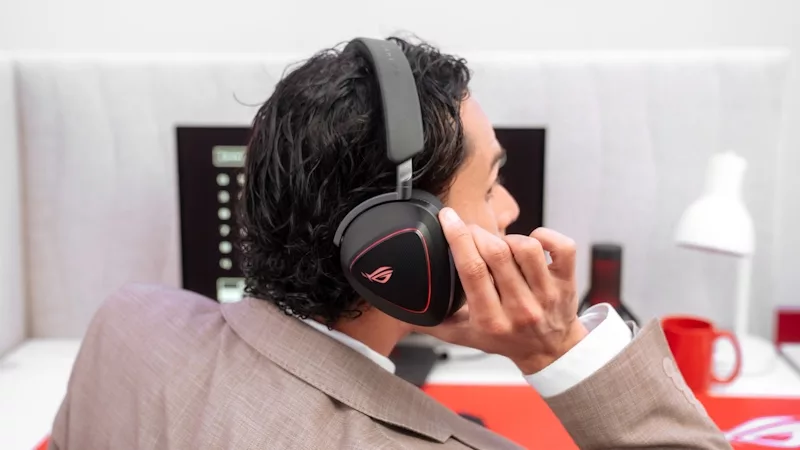
The ROG Pelta wireless gaming headset: premium comfort for PC, console, and mobile gamers

ROG Astral vs Strix vs TUF vs Prime: which ASUS graphics card is right for you?
The 2025 ROG XG Mobile Leads New Era of eGPUs with Thunderbolt 5

Call of Duty Modern Warfare II on the ROG Ally: performance guide & best settings
Neueste Artikel
How to choose a gaming laptop: The ultimate 2025 buying guide
Learn how to choose a gaming laptop with our complete guide, ensuring you find the perfect match for your gaming needs and preferences.

Best Laptop for Students and Gaming in 2025: ROG’s Picks for College
No matter which university or major you choose this fall, ROG has the right gaming machine for your campus life.
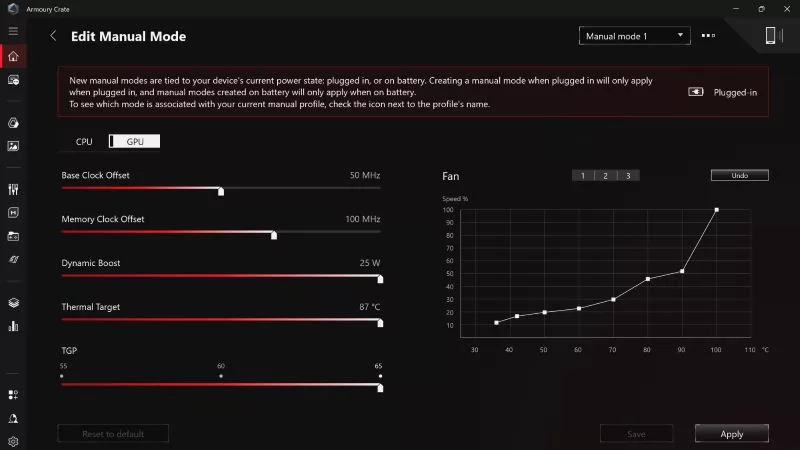
Can I overclock my GPU with Armoury Crate?
If you have an ROG machine — whether it’s a gaming desktop or a gaming laptop — you can control most of its functions from the bundled Armoury Crate software. On laptops, this includes tuning your GPU performance and overclocking your graphics chip. On desktops, you'll need GPU Tweak III as well.
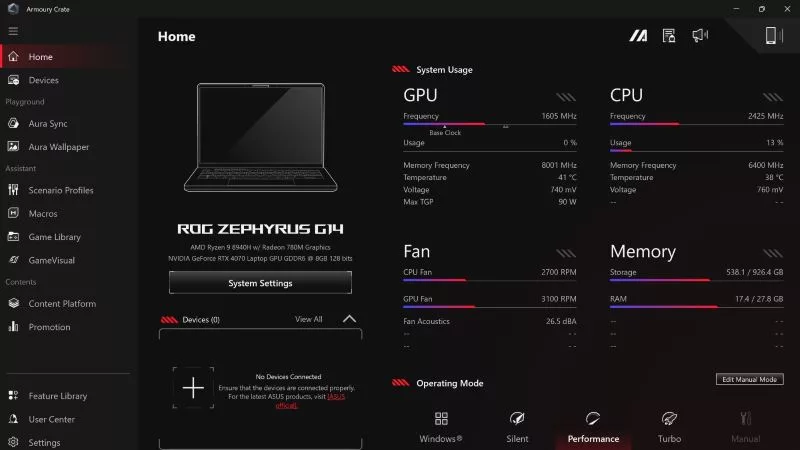
Do I need Armoury Crate on my PC?
If you just bought an ROG desktop PC or gaming laptop, you may be wondering what the preinstalled Armoury Crate software does. Here are its banner features.
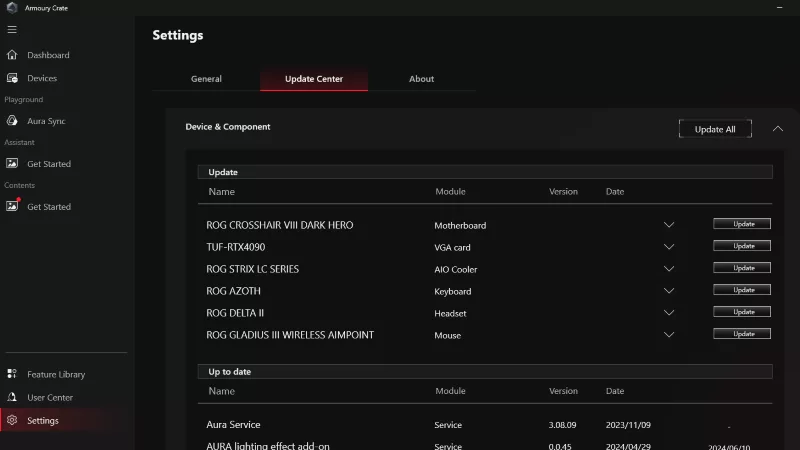
How to fix a device that's not showing up in Armoury Crate
If Armoury Crate isn’t automatically detecting your new device, don't worry — you probably just need to download a quick update.
Reintegrated: An ROG stylebook for today's competitive corporate world
Working in a corporate office doesn't necessarily mean that you have to settle for bland, underwhelming PC hardware.