How to connect the ROG Ally to a TV or monitor for big screen gaming
The ROG Ally was designed to be an ultra-portable, handheld gaming machine that can transform into whatever you need at any given moment. Want to throw your games up on the big screen and play with friends? All you need is a USB-C to HDMI dock that can charge the Ally at the same time, like the ROG 65W Gaming Charger Dock or one of our XG Mobile external GPUs.
This is part of our ultimate guide to the ROG Ally series of articles.
We’ll be using the 65W Gaming Charger Dock for the purposes of this guide, but if you’re using an XG Mobile, the steps will be similar — you’ll just want to check out our XG Mobile guide to get it up and running, then come back here for the display and controller configuration.
| Model | Type | Where to Buy (US) | Where to Buy (CA) |
|---|---|---|---|
| ROG Ally (Ryzen Z1 Extreme) | Handheld | Best Buy | ASUS Best Buy |
| ROG Ally (Ryzen Z1) | Handheld | Best Buy | |
| XG Mobile (Radeon RX 6850M XT) | eGPU | ASUS Best Buy |
|
| XG Mobile (GeForce RTX 4090) | eGPU | ASUS EXcaliberPC |
ASUS Memory Express |
| ROG 65W Gaming Charger Dock | USB Hub | Best Buy | ASUS |
| Official ROG Ally Travel Case | Case | Best Buy | ASUS Best Buy |
Step one: Connect your Ally to the dock
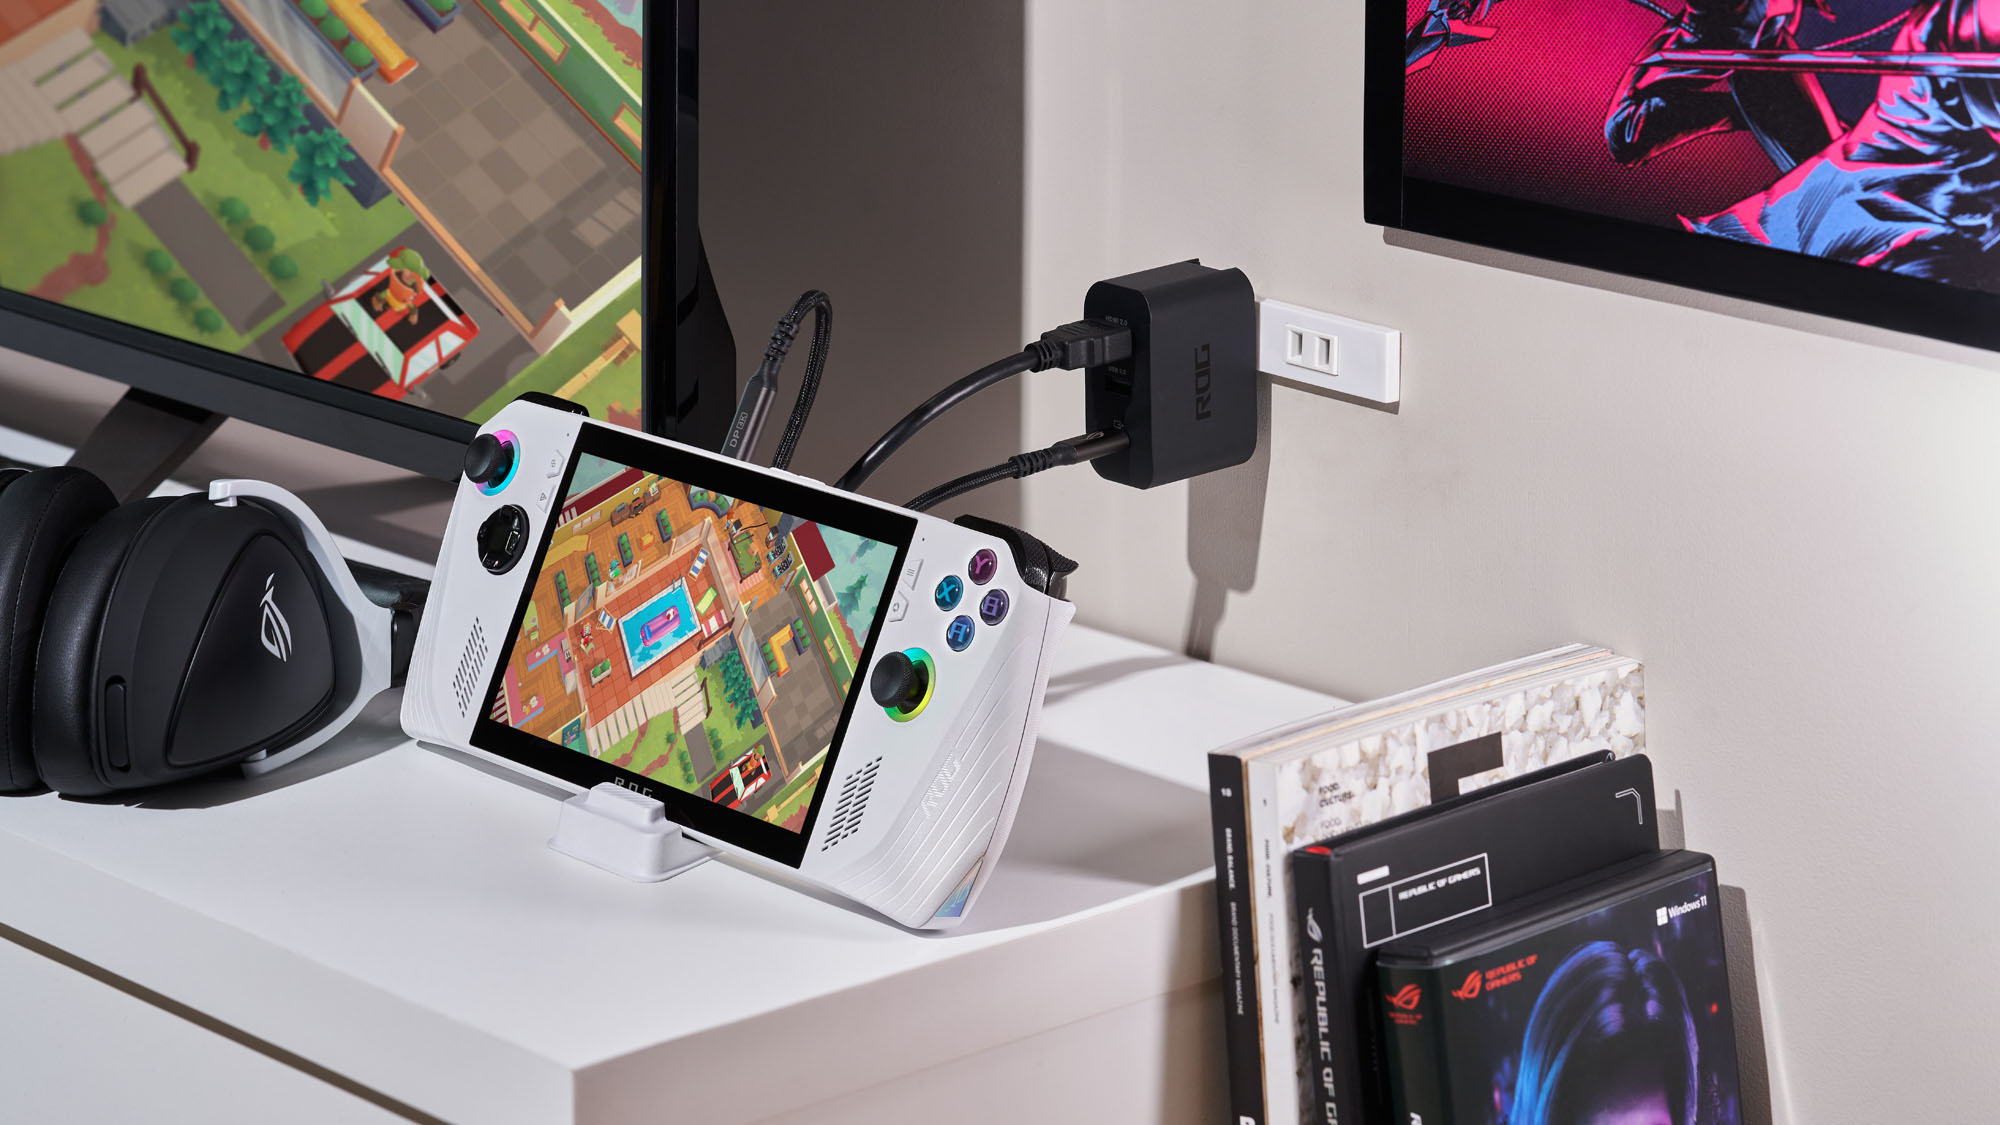
Our 65W Gaming Charger Dock includes three ports, so connecting the Ally is fairly simple. Plug a USB Type-C cable into the port on the top your Ally, then plug the other end into the Type-C port on the Gaming Charger Dock. Then connect an HDMI cable — ideally an Ultra High Speed HDMI Cable if you have a 4K TV — to the Gaming Charger Dock, and the other end into an HDMI port on your TV or monitor. The Gaming Charger Dock also has a USB Type-A port for any peripherals you may want to use.
Step two: Adjust your display
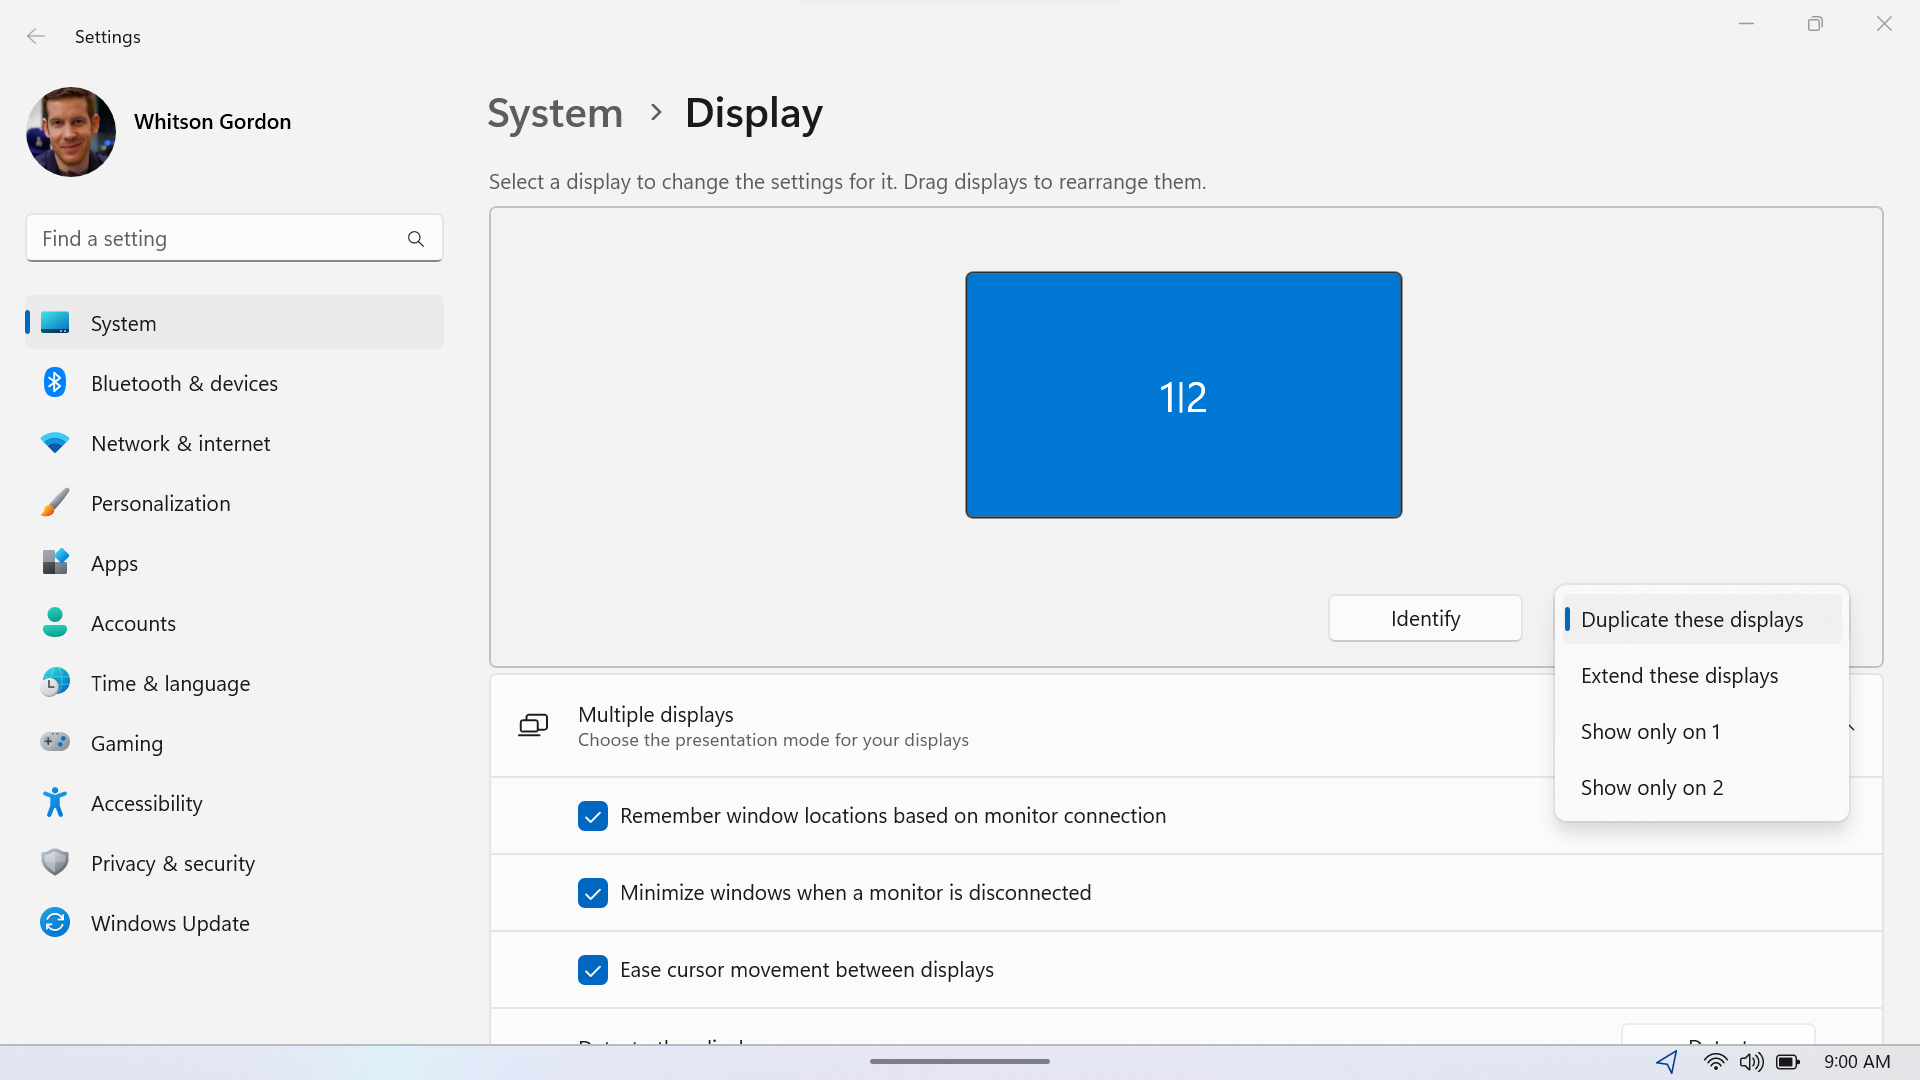
When you plug the Ally into the TV, the screen will go black for a moment as it detects the new display, after which you should see the Ally’s display appear on your TV or monitor. By default, it’ll be set to show only on the TV, but you can customize this depending on your preferences. Hold the M1 or M2 button on the back of the Ally and press X to bring up Windows Projection Mode. From there, you can choose to duplicate the Ally’s screen on the TV or extend the display to the TV. I generally prefer the default setting, but you can tweak this how you like.
Next, make sure your TV’s display settings are adjusted properly. Open the Windows Start menu and head to Settings > System > Display. Under Display Resolution, set your preferred resolution for the TV. The Ally was designed to play at 1080p, so setting your TV resolution to 1920x1080 will give you the simplest plug-and-play experience. Depending on the game you’re going to play, though, you may be able to render it at 4K, or 3840x2160, which will produce sharper graphics. You can also use FSR or RSR to upscale the game from 1080p to 4K if need be, as described in this guide.
Finally, scroll down to Advanced Display, choose your TV from the “Select a display” dropdown at the top, and make sure the refresh rate is set to at least 60Hz. This will allow your TV to display smooth gameplay at 60 frames per second.
Step three: Connect your controller(s) and disable the built-in gamepad
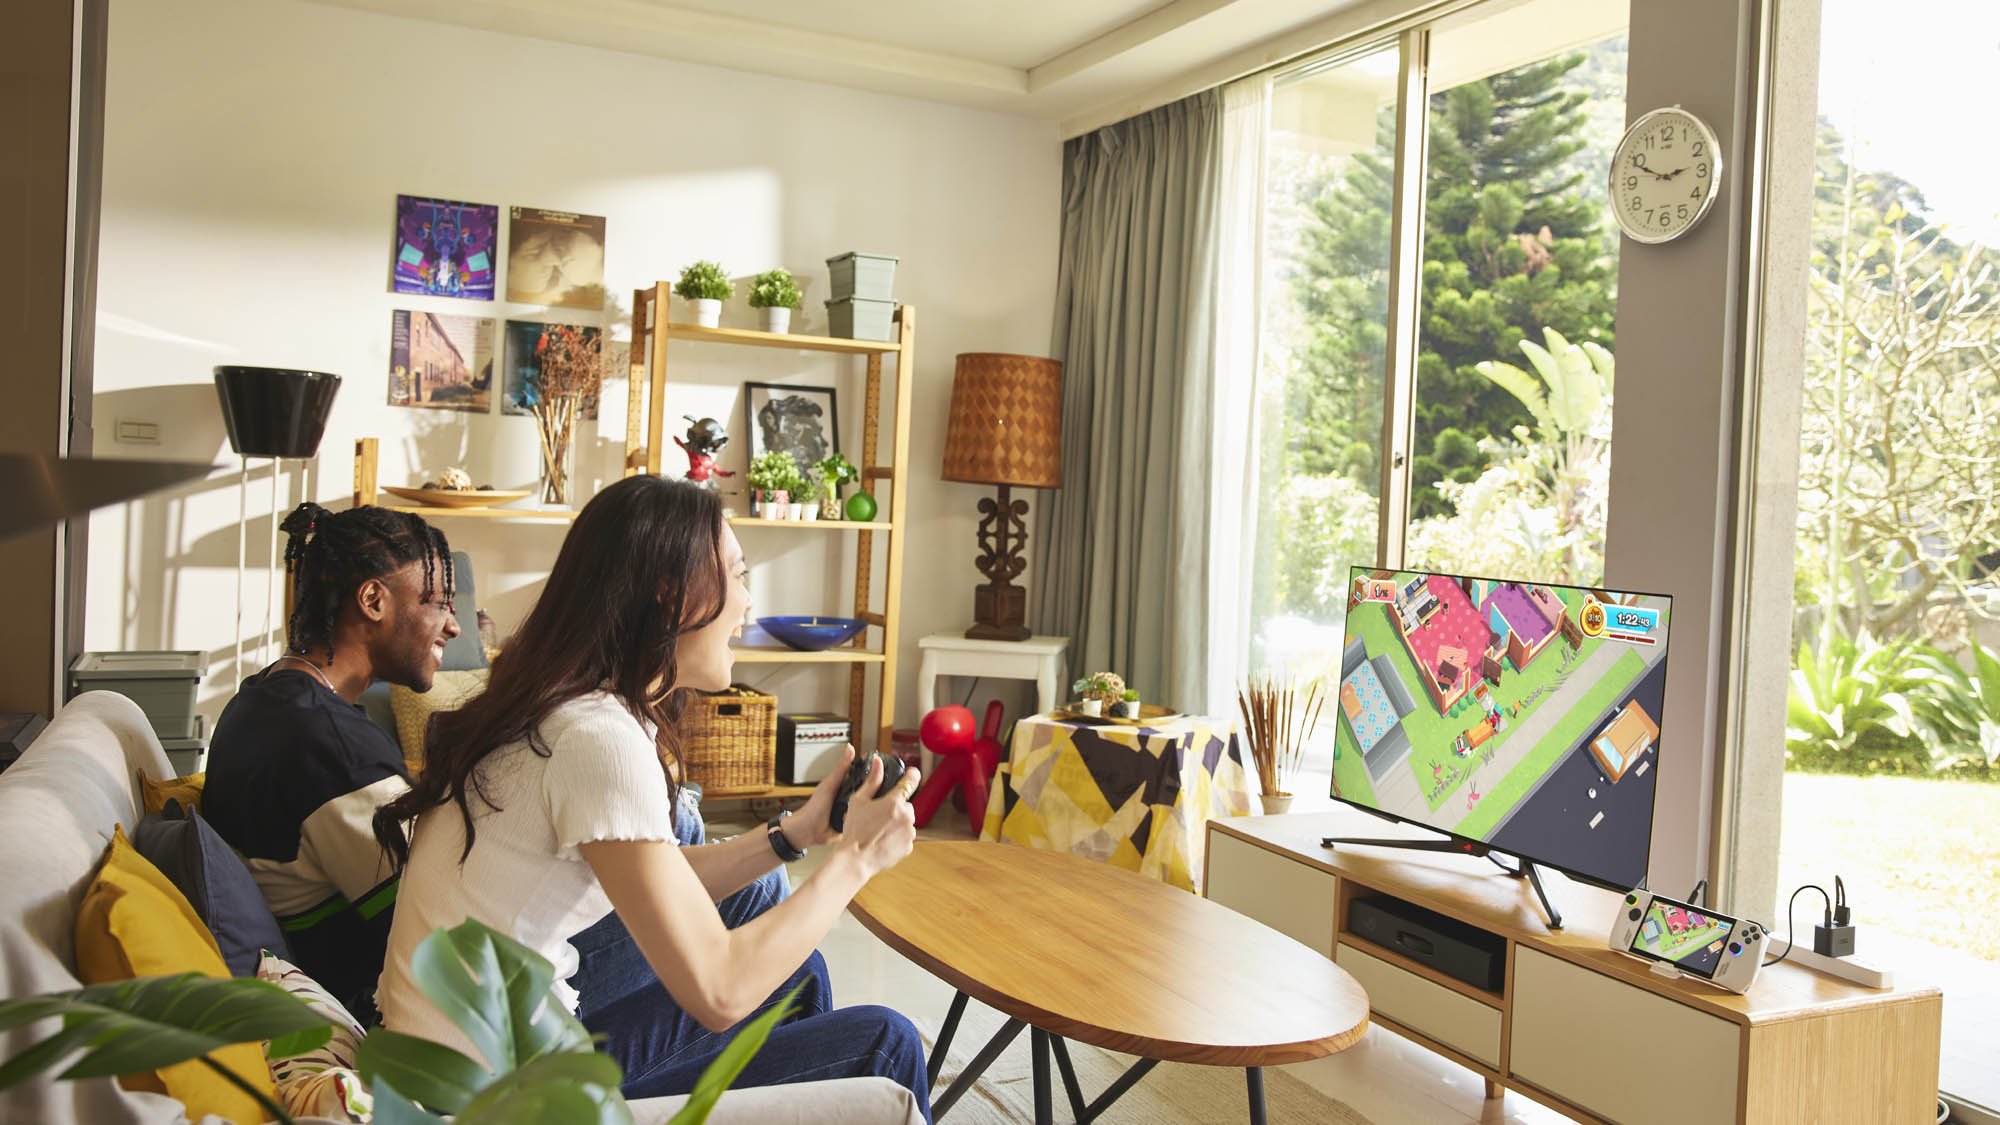
Now that your display is set up, you’ll need to connect your controllers. Grab your favorite wired or wireless gamepad — might we suggest the ROG Raikiri or ROG Raikiri Pro? — and connect it to your Ally. For wired and 2.4GHz wireless controllers, you can plug it into the remaining USB port on the Gaming Charger Dock, and for Bluetooth controllers, you can connect them from Windows’ Settings > Bluetooth & Devices. The Ally can support up to four controllers.
To play with an external controller, you’ll also need to disable the Ally’s built-in gamepad, so games don’t detect it instead. Open the Command Center and turn the Embedded Controller option off.
Step four: Game on
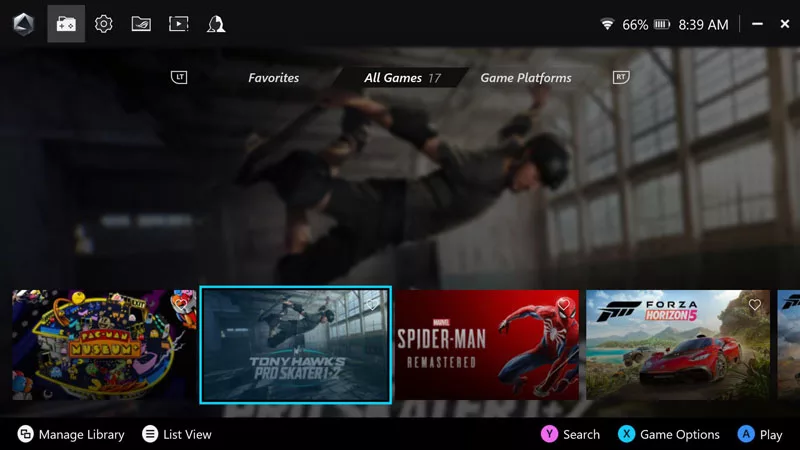
From there, you’re all set! You should be able to navigate Armoury Crate with your controller from the couch, allowing you to launch your games and get playing. If you need a good game to play with friends, check out our list of the best couch co-op and multiplayer games for the Ally and for more tips and tricks, check out our full guide to the ROG Ally. If you haven’t picked yours up yet, you can get it from Best Buy at the links below.
| Model | Type | Where to Buy (US) | Where to Buy (CA) |
|---|---|---|---|
| ROG Ally (Ryzen Z1 Extreme) | Handheld | Best Buy | ASUS Best Buy |
| ROG Ally (Ryzen Z1) | Handheld | Best Buy | |
| XG Mobile (Radeon RX 6850M XT) | eGPU | ASUS Best Buy |
|
| XG Mobile (GeForce RTX 4090) | eGPU | ASUS EXcaliberPC |
ASUS Memory Express |
| ROG 65W Gaming Charger Dock | USB Hub | Best Buy | ASUS |
| Official ROG Ally Travel Case | Case | Best Buy | ASUS Best Buy |
Auteur
Popular Post
Introducing the ROG Astral GeForce RTX 5090 and 5080: a new frontier of gaming graphics
ASUS OLED Premium Care protects the ROG Swift OLED PG32UCDM against burn-in
All the new gaming gear revealed from the ROG Lab at CES 2025
Air vs Liquid Cooling for the RTX 5090: Are AIO GPUs better?

AMD CPUs and the legendary Apex series combine forces for the first time in the ROG Crosshair X870E Apex
Laatste Artikelen
How to increase FPS on the ROG Ally with FSR 3 and AFMF 2
Boost your FPS on the ROG Ally with new FSR 3 and AFMF 2 frame generation tech from AMD.
What GPU does your PC have? Here’s how to check
This guide covers easy ways to check your GPU model, ensuring that you know exactly how to find your GPU specs in just a few steps.
How fast should my internet be for gaming? How to reduce lag and optimize online multiplayer
Find the optimal internet speed for gaming and get tips to reduce lag, lower ping, and enhance your online gaming experience with wired and wireless setups.
What CPU does your PC have? Here’s how to check
Learn how to check your PC’s CPU details without taking it apart. Follow our simple steps for Windows to find out your processor's specifications.
How to Customize the Armoury Crate SE Game Library on the ROG Ally or ROG Ally X
Customize your ROG Ally with Armoury Crate SE: change the look of your library, add custom game art, and edit the Command Center for the best gaming experience.
15 tips & shortcuts to set up and optimize your ROG Ally or ROG Ally X
So you’ve finally unboxed your brand new ROG Ally, and you're itching to get your game on. Here's what to do first.